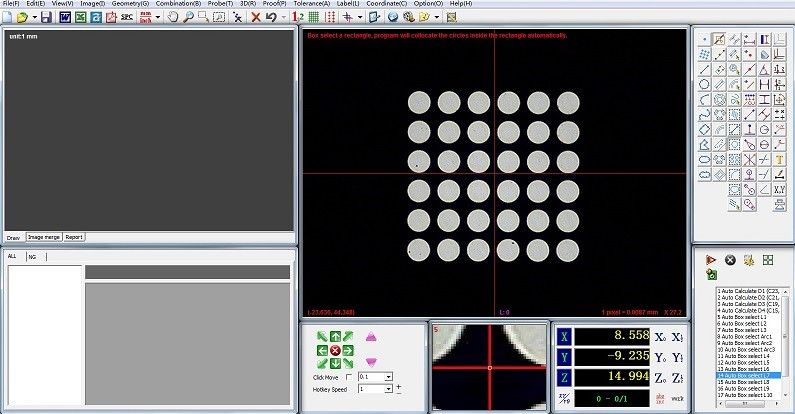
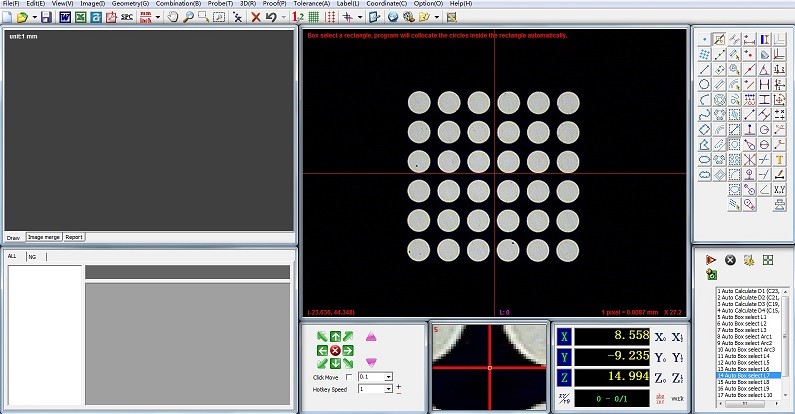
UNIMETRO-2D Inspect: Advanced 3D Measurement System with Probe Functions & Microscope Compatibility
Comprehensive Measurement Capabilities
Powerful 3D measurement software compatible with microscopes and featuring advanced probe functionality for precision measurement applications.
Advanced Geometry Measurement Functions
- Points and point groups measurement
- Line creation from 2+ points
- Circle and arc creation from 3+ points
- Distance calculations: point-to-point, point-to-line, circle center distances
- Angle measurement and line intersection points
- Average distance between lines

Advanced Construction Functions
Offset, rotate, combine, parallel, vertical, mirror, crossing, and tangent functions for creating elements to assist with complex parts measurement.
Convenient Labeling System
Direct labeling on drawing or image areas with simultaneous display of measurement result labels in both areas.

Geometric Tolerance Evaluation
Includes straightness, roundness, taper, and other geometric tolerance evaluation functions.
Flexible Coordinate Alignment
Parts measurement without requiring alignment; coordinate system offset, rotation, and alignment functions available.

Customizable Window Presets
Adjustable window layout based on user preferences with common tool settings for optimized workflow.
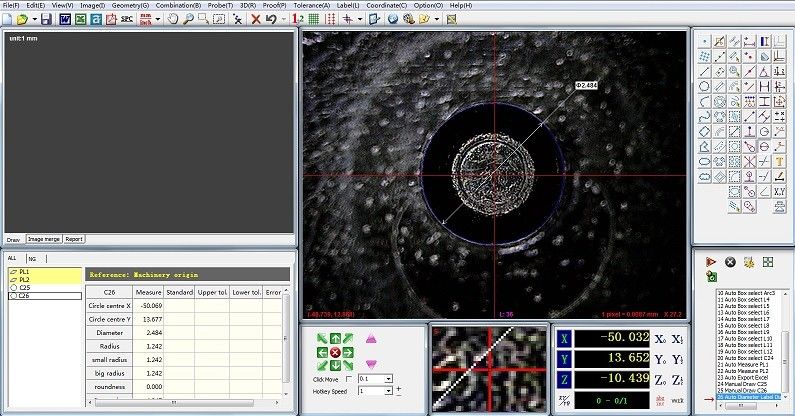
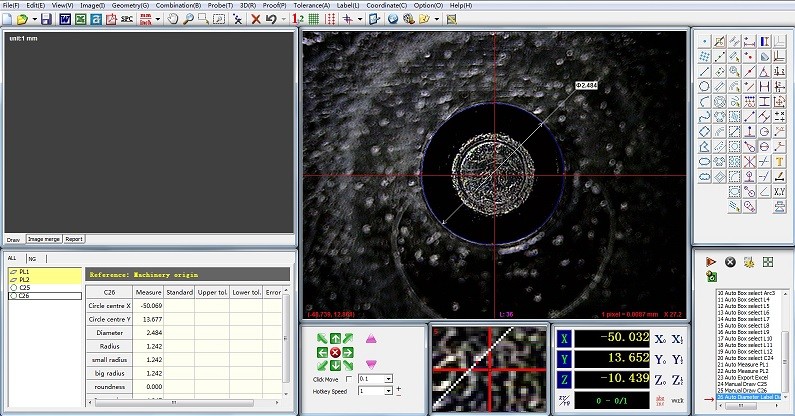
Automatic Image Edge Detection
Multiple automatic edge detection tools included to increase measurement efficiency and accuracy.
Smart Auto-Recognition Tools
Automatic recognition of circles, lines, and arcs within images for streamlined measurement processes.
Fuzzy Elimination Function
Adjustable CCD parameters with adaptive capability and fuzzy elimination function for accurate measurement data acquisition.
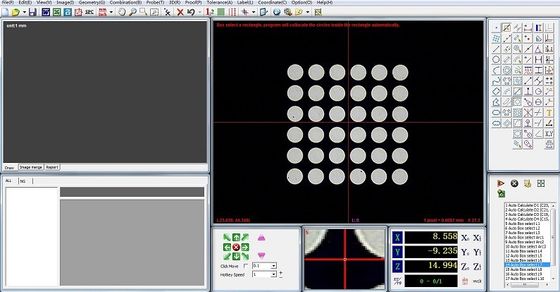
Efficient Rectangle Measurement
Four-side detection in single operation for rapid rectangular measurements.
Multiple Report Formats
Customizable Excel report formats to meet specific user requirements and documentation needs.

Reverse Engineering Capabilities
Direct output of mechanical drawings to DXF files for 2D scanning functionality, compatible with design software including AutoCAD and Pro/E.
Professional SPC Functionality
Comprehensive Statistical Process Control functions for efficient quality control data management.

Automated Measurement Functions
Auto focusing, automatic measuring, matrix measuring, and DXF file import for comparison with part images or measured graphics.

Auto Focus Assistance
Two-point image area selection for measuring error value calculation with optional touch probe accessories for 3D compound measuring.
3D Compound Measurement
Perfect combination of image and touch probe measuring with automatic switching by measurement program for complex parts measurement.
Real 3D Display

Frequently Asked Questions
Are you a factory or trading company?
We are a factory and provide responses within 24 hours.
What does your company primarily manufacture?
We primarily produce Vision Measuring Machines, Coordinate Measuring Machines, CMM & VMM fixtures, and related equipment.
How to choose the appropriate specification?
Our professional team will advise you on suitable measuring instrument specifications based on your product variety and measurement requirements.
Do you accept customized service?
Yes, we provide both standard machines and customized solutions tailored to specific customer needs.
What is your warranty period?
Our product warranty period is 1 year. We maintain stable product quality with improvements on breakable parts for reliable performance.

 Your message must be between 20-3,000 characters!
 Please check your E-mail!
  Your message must be between 20-3,000 characters!
 Please check your E-mail!

